Quick Facts
- The Bare Minimum: You cannot enter the backcountry without an avalanche beacon, a probe, and a metal shovel.
- Skill Requirement: You should be a "strong intermediate" skier at the resort—comfortable on ungroomed black diamonds—before heading out.
- The 90/10 Rule: Expect to spend 90% of your day climbing and only 10% skiing downhill.
- Education is Key: A formal AIARE Level 1 course is the industry standard for learning how to stay alive in avalanche terrain.
- Gear Essentials: Specialized touring bindings and climbing skins are required for "skinning" (walking uphill on skis).
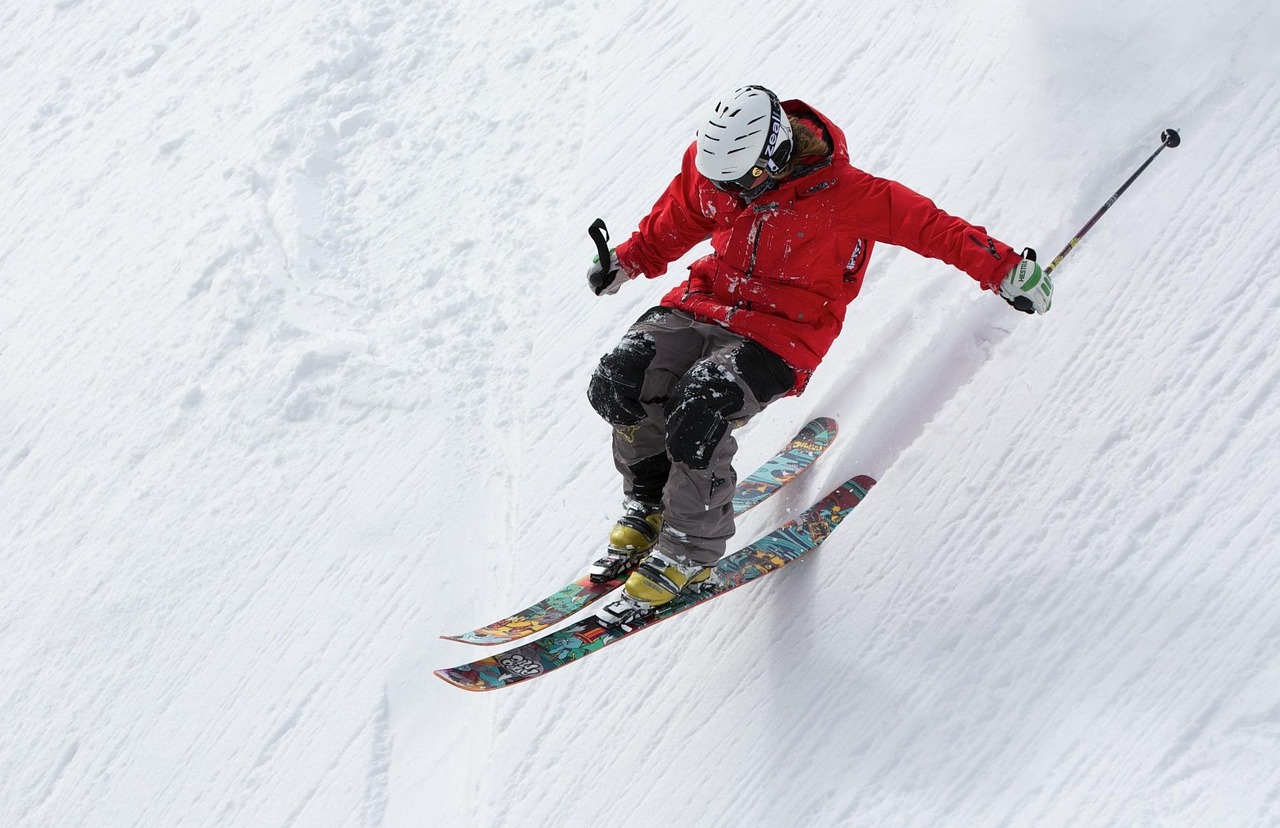
I still remember the first time I ditched the lift line at Breckenridge for a quiet skin track in the Gore Range. The constant hum of the high-speed quad was replaced by the rhythmic shush-shush of my skins against the snow and the sound of my own breathing. There were no mid-mountain lodges, no "slow zone" signs, and most importantly, no crowds. Just miles of untouched powder and the immense silence of the winter wilderness.
But here’s the reality check: backcountry skiing isn't just "resort skiing without the lines." It is a completely different sport that requires a new set of skills, a different mindset, and a significant investment in safety. When you leave the ropes, you are leaving behind the ski patrol, avalanche mitigation, and groomed trails. You are the captain of your own ship, and the mountains don't grade on a curve.
The Allure of the Earned Turn
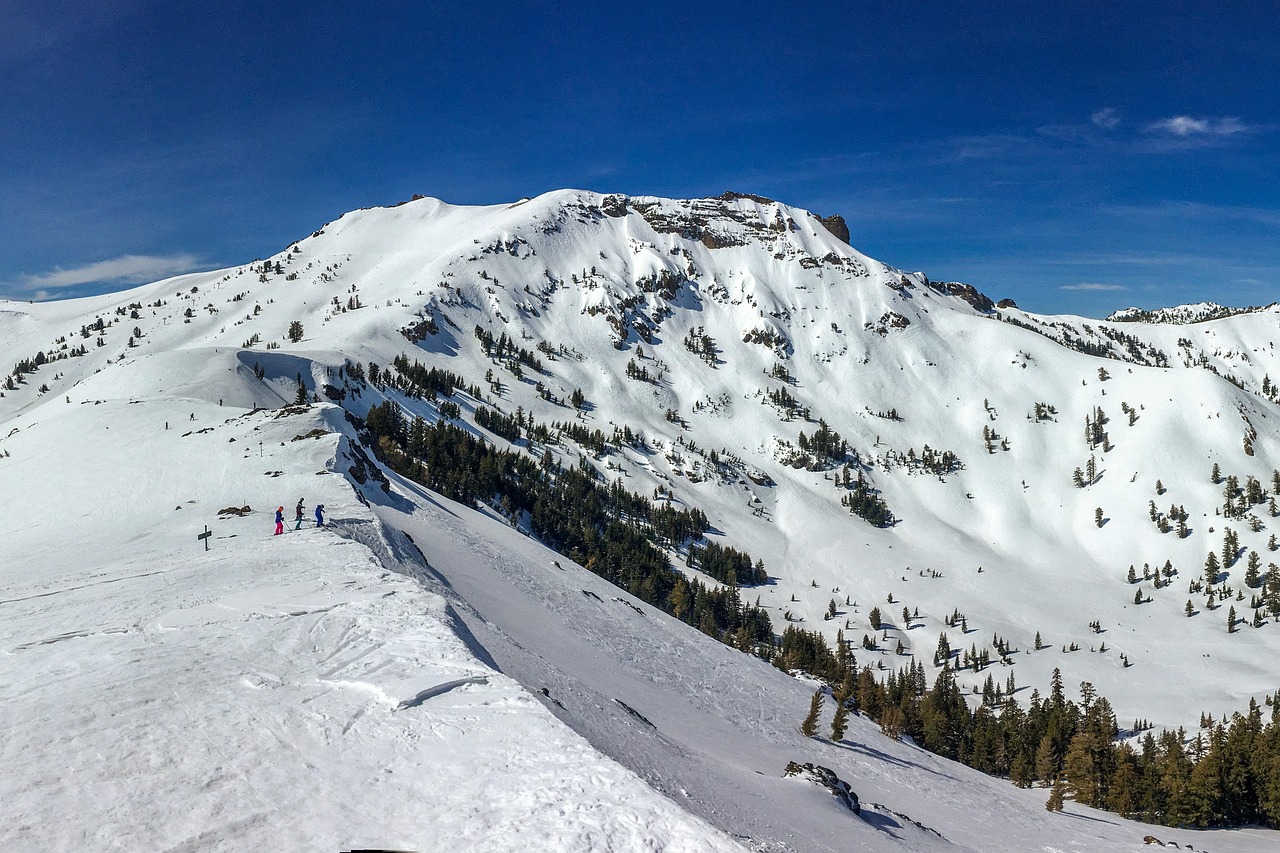
The "Earned Turn" is the central philosophy of the backcountry. In a world of instant gratification, there is something deeply rewarding about spending three hours climbing a mountain to enjoy a ten-minute descent. This is the "90/10" reality of the sport: roughly 90% of your day is spent on a human-powered ascent, while only 10% is spent skiing.
To thrive out here, you have to enjoy the climb as much as the descent. It’s a meditative, aerobic experience that takes you into terrain that resort skiers will never see. However, that human-powered aspect means your fitness and your gear need to be up to the task of a multi-hour trek through deep snow.
Prerequisites: Are You Ready to Leave the Lifts?
Before you go out and drop thousands of dollars on a new touring setup, you need to be honest about your current ability. Backcountry skiing for beginners starts with a solid foundation at the resort.
We generally recommend that you be at least a strong intermediate to advanced skier before transitioning. This means you should be able to ski unpatrolled, ungroomed, and variable snow—think crust, slush, "mashed potatoes," and deep powder—without panic. In the backcountry, there are no "groomers" to bail you out if you get tired. If you struggle to stay balanced on a blue run at the resort when it gets bumpy, you aren't ready for the wild snow of the backcountry yet.
Physical fitness is the second pillar. Touring is essentially hiking uphill with weights on your feet while at high altitude. You don't need to be an Olympic athlete, but you should have the cardiovascular endurance for a 3-to-5-mile hike with significant elevation gain. If you’re huffing and puffing after two runs at the resort, start hitting the stair climber or trail running now to prepare for the winter.
The Essential Safety Trinity (Non-Negotiables)
Safety in the backcountry isn't an "extra"—it is the price of entry. I’ve seen too many people head into the sidecountry (out-of-bounds areas accessible from a resort) with nothing but a bottle of water and a GoPro. That is a recipe for disaster.
To start backcountry skiing safely, you must carry the "Safety Trinity" every single time you step off-piste:
- The Avalanche Beacon (Transceiver): This is a device worn on your body that emits a 457 kHz radio signal. In the event of a burial, your partners switch their beacons to "search" mode to locate your signal.
- The Probe: A long, collapsible pole (minimum 7.8ft/2.4m) used to pinpoint the exact location and depth of a buried victim after the beacon has narrowed it down.
- The Metal Shovel: Notice I said metal. Plastic shovels will snap like a twig when trying to dig through avalanche debris, which quickly sets like concrete.
The statistics are sobering and should be your primary motivator for gear and training. Avalanche survival rates plummet from 93% if the victim is rescued within 15 minutes to just 35% if the rescue takes longer than 30 minutes. Speed is everything. Furthermore, data shows that 67% of avalanche fatalities involve victims who failed to carry basic safety gear, including a beacon, probe, and shovel. Don't be a statistic. Carry the gear, and more importantly, know how to use it.

Choosing Your First Touring Setup
The gear for backcountry skiing is highly specialized. You need equipment that is light enough to carry uphill but sturdy enough to handle the descent.
Skis & Splitboards
For your first pair of touring skis, look for a "middle-of-the-road" waist width—around 95mm to 105mm. This provides enough float for powder days but remains light and maneuverable for the climb. If you're a snowboarder, you'll need a splitboard, which separates into two "skis" for the uphill and clips back together for the ride down.
Bindings: The Tech vs. Frame Debate
This is where beginners often get confused. There are two main types of touring bindings:
| Feature | Tech Bindings (Pin) | Frame Bindings |
|---|---|---|
| Weight | Ultralight; minimal moving parts. | Heavy; looks like a resort binding. |
| Uphill Pivot | Natural pivot point at the toe. | Lifts the entire heavy frame with every step. |
| Safety | Requires specialized boots with "pins." | Works with standard alpine boots. |
| Best For | Dedicated backcountry enthusiasts. | Occasional backcountry/resort hybrid use. |
For most people starting today, I recommend Hybrid Bindings (like the Salomon SHIFT) or modern Tech Bindings. They offer the best balance of safety and uphill efficiency.
Climbing Skins
These are strips of material (nylon, mohair, or a blend) with a directional carpet-like texture on one side and a reusable adhesive on the other. You stick them to the bottom of your skis to go uphill; they allow you to glide forward but grip the snow to prevent you from sliding backward.
Boots
You need boots with a "Walk Mode"—a switch on the back that allows the cuff to move freely, giving you a natural stride. If you're using tech bindings, your boots must also have metal "tech fittings" in the toe and heel.
Marcus's Pro Tip: Don't buy everything brand new at once. Check for rental packages at local specialty shops or retailers like REI. It’s a great way to test different binding types before committing $1,500+ to a setup.
Layering for the Uptrack: The Science of Sweat
One of the biggest mistakes beginners make is dressing like they are going to the resort. If you wear a heavy insulated parka on a 2,000-foot climb, you will be drenched in sweat within twenty minutes. In the winter wilderness, sweat is the enemy; once you stop moving, that moisture will freeze, leading to hypothermia.
The goal is Active Insulation:
- Base Layer: Merino wool is the gold standard. It stays warm even when wet and doesn't stink after a long day.
- Mid Layer: A breathable fleece or a "lightweight active insulation" jacket (like the Arc'teryx Proton series) that moves moisture away from your body.
- Outer Shell: For the uphill, a breathable softshell is often better than a waterproof hardshell.
- The "Puffy" Rule: Always carry a heavy down "belay" jacket or "puffy" in your pack. This stays in your bag during the climb and only comes out during transitions (switching from uphill to downhill mode) or in emergencies.

The Training Path: Knowledge Before Vert
You can have the most expensive gear in the world, but if you don't know how to read the snow, you are a liability to yourself and your partners.
AIARE Level 1
The AIARE 1 (American Institute for Avalanche Research and Education) is the "Driver's Ed" of the backcountry. This three-day course teaches you how to recognize avalanche terrain, read a snow forecast, and perform a companion rescue. It is the absolute minimum level of education you should have before venturing into unpatrolled mountains.
Hiring a Guide
For your very first tour, I highly recommend hiring an AMGA-certified guide. They won't just keep you safe; they will act as an on-mountain mentor. They’ll show you how to set a "skin track" (the path uphill), how to perform efficient "kick turns" on steep slopes, and how to manage your temperature.
Find a Certified Mountain Guide →

Your First Day: From Resort to Backcountry
Don't head into the deep wilderness on day one. Start with "Dawn Patrols" at a local resort that has an uphill policy. This allows you to practice the mechanical skills—putting on skins, clicking into bindings, and transitioning—in a controlled environment with a groomed descent.
Once you’re ready for the real deal, use technology to help plan. Apps like OnX Backcountry, Gaia GPS, and Avalanche.org are essential. They allow you to see slope angles (most avalanches occur on slopes between 30 and 45 degrees) and track your position in real-time.
The Pre-Tour Checklist:
- Check the Forecast: Read the local avalanche center report (e.g., CAIC in Colorado or NWAC in Washington).
- Beacon Check: Before leaving the trailhead, ensure everyone in the group has their beacon on "Send" and has sufficient battery life.
- Communication: Discuss the "run plan" and "veto power." Anyone in the group should feel comfortable calling off the mission if they feel unsafe.

FAQ
Q: Is backcountry skiing dangerous? A: It carries inherent risks, primarily from avalanches, terrain traps, and weather. However, with proper education (AIARE), the right gear, and conservative decision-making, those risks can be managed effectively.
Q: Can I use my regular alpine boots for touring? A: Only if you have "Frame Bindings." However, alpine boots lack a "Walk Mode," meaning you'll be walking with a stiff, robotic stride that will tire you out very quickly. For a true backcountry experience, touring-specific boots are a game-changer.
Q: Do I really need to spend $1,000 on safety gear? A: Yes. Your beacon, probe, and shovel are your life insurance. If you can't afford the safety gear, you can't afford to go backcountry skiing. Look for "safety packages" from brands like Black Diamond or Backcountry Access (BCA) to save a bit of money.
The Reward Awaits
Starting your backcountry journey is an investment in freedom. It’s a steep learning curve, and the gear can be daunting, but the first time you drop into a bowl of untouched, waist-deep powder—with not another soul in sight—you’ll realize it was worth every drop of sweat and every hour of study.
The mountains are waiting. Get the gear, get the training, and I'll see you on the skin track.